
In the last article we overviewed displacement in Mental ray. Lets see how it works in vray.
Like we discussed before, displacement actually changes the geometry of the object during the render process. Displacement mapping is a technique for adding detail to your scene geometry without having to model it first.
The concept is very similar to the bump mapping system, though bump mapping only is a shading effect that changes the appearance of the mesh or model.
One important thing, which I would like to mention before going further is, the vray displacement is not visible in viewport. It is visible when rendered.
This entire article would be discussing the ‘Vray Displacement modifier’.
Before we start using the modifier, let me explain the important parameters.
Type – the method used to apply displacement mapping
2D mapping (landscape): based on the height map technique, which we use otherwise, where the texture map is known in advance. The advantage of this method is that it preserves all the details in the displacement map. But the object needs to have texture co ordinates.
3d mapping: This is a general method which takes the original surface geometry and subdivides its triangles into smaller sub-triangles which are then displaced.
Which method to use? In previous VRay versions, there was a great difference between the performances of the two methods, with the 2D mapping being faster in many cases. With the introduction of dynamic geometry handling in VRay 1.45.xx, 3d displacement has become a lot faster for similar or better quality compared to the 2d mapping. Still, for large displaced surfaces like oceans or mountains, the 2d mapping method might work better.
Texmap – This is the displacement map that you would use.
Amount – the amount of displacement. A value of 0.0 means the object will remain unchanged. Higher the value more is the displacement. If it’s negative, it pushes the geometry inside.
Shift: This is a value, which adds to the displacement map value, shifting the displaced surface, up and down along the normal.
———–2d mapping parameters.———-
Resolution: This determines the resolution of the displacement texture used by Vray.
Shift by average – this will automatically compute a Shift value based on the average values in the displacement map.
Tight bounds – this parameter will cause VRay to compute more precise bounding volumes for the displaced triangles, leading to slightly better rendering times.
Edge length – this determines the quality of the displacement. Each triangle of the original mesh is subdivided into a number of subtriangles. More subtriangles mean more detail in the displacement, slower rendering times and more RAM usage.
Max. subdivs – this controls the maximum subtriangles generated from any triangle of the original mesh.
Tight bounds – When this is on, VRay will try to compute the exact bounding volume of the displaced triangles from the original mesh.
Use object mtl – this will cause the displacement map to be taken from the object’s material instead of the map selected in VRayDisplacementMod.
Keep continuity – using this will try to produce a connected surface, without splits, when you have faces from different smoothing groups and/or material IDs.
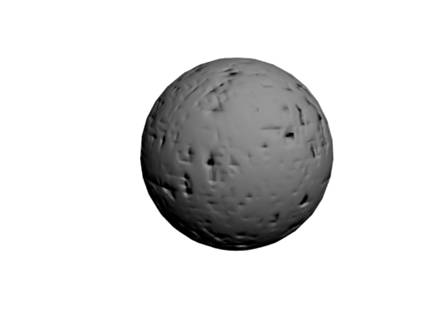
Lets see how different is displacement as compared to bump, with the following example.
Bump map
Vray Displacement Modifier
Lets see how the shift parameter works. It would actually shift the geometry from the normal like this.
The size of the sphere is same, but the geometry has shifted.
Clipping geometry I have kept the shift value at 0 and turned on the water level clipping with value 1.
The black areas of the 3d map displacement get clipped like this.
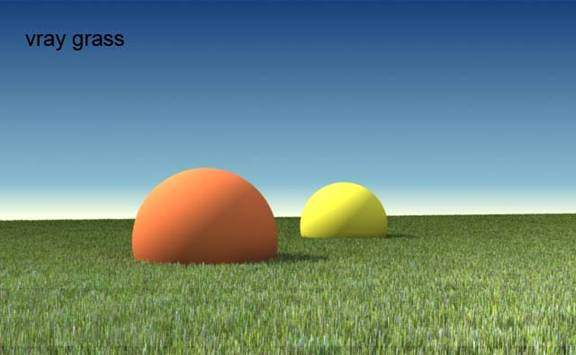
A very nice way of rendering grass with displacement modifier is what I have tried to explain here.
Here’s what I get.
The parameters are self-explanatory and you can download the file here.
Any questions? You can write to us.

