
We have seen in one of the articles, how you would go about using an HDR
Lets test render a complete scene.
This is all we need:
3ds max
A good HDR image, I will use my all time favorite hdr “kitchen.hdr”
A good scene set up
Select mental ray as your renderer
Create a skylight and choose the option Use scene environment.
Multiplier is 1
Lets see what I did for the materials
They are pretty simple
1. For the ceramic: I used standard mat. With specular level 80 and glossiness 60.
I used fall of for reflection. Keep the fall off fresnel. Reflection amount is 30.
Also I used raytrace in the black slot of fall off with amount 30
Images above show mat settings for ceramic
2. Settings for tiles: I used standard mat. Then select bitmap in the
diffuse slot.Choose the bitmap of the tile you want. Also use the
grayscale of the same bitmap in the bump slot with bump 20. The Specular
level is 100 and glossiness is 60 Now comes the important part. We shall
bring in the HDR file in the material editor slot.
Also change the output level of the hdr to the same as white point i.e.
12 Also put the same hdr from the material slot to the environment slot as instance
These are my mental ray settings. I haven’t kept them
too high since it is just a test render.
Hit render
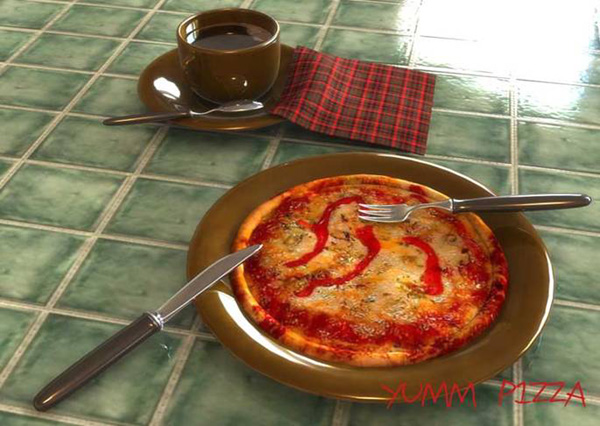
This is what I got
With some post production and curves here’s my final.
The cloth is a reactor cloth. Coffee is just a bitmap with reflections set to fall off
All images rendered by Poonam Shah

